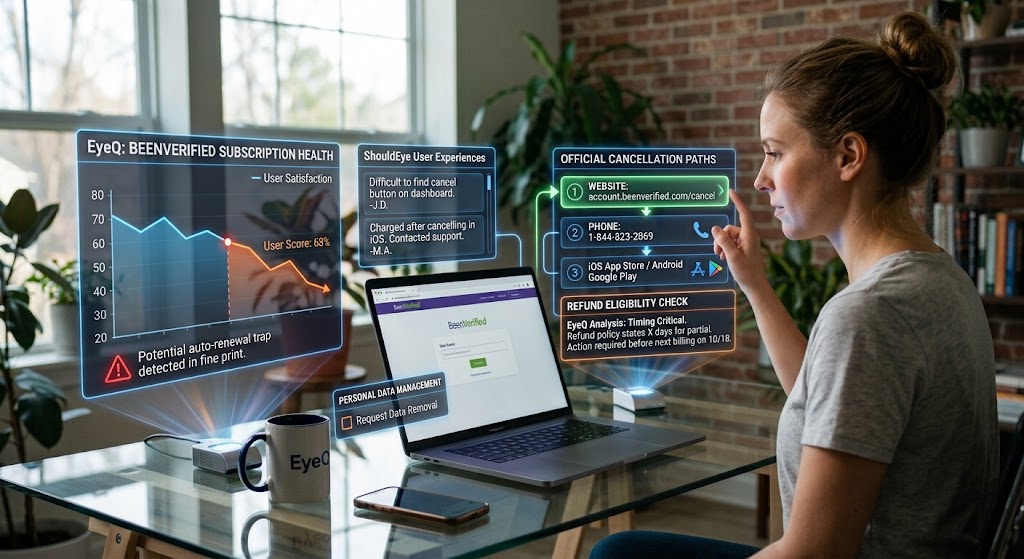
A woman using digital holographic screens beside her laptop to check ShouldEye and EyeQ cancellation options.
PhotogeminiHow to Cancel BeenVerified Membership: Step‑by‑Step Guide
Learn the exact steps to cancel your BeenVerified membership, avoid unwanted charges, and understand refunds and data removal. Quick guide for 2026.
If you’ve decided that BeenVerified’s background‑check service no longer fits your needs, stopping the subscription before the next billing cycle is essential. Cancelling the right way protects you from surprise charges, clarifies what happens to your data, and gives you a chance to request a refund if you’re eligible. Before taking action, using ShouldEye alongside an EyeQ analysis gives you immediate visibility into recent user experiences and potential subscription traps. This guide walks you through every official cancellation path – from the website dashboard to phone support and platform‑specific routes for iOS and Android.
Why a Proper Cancellation Matters
BeenVerified bills regularly, so an unfinished cancellation can leave you paying for a service you no longer use. Understanding how to cancel BeenVerified properly is the only way to safeguard your bank account from ongoing auto-renewals. Moreover, the company’s policy states that refunds are not guaranteed and depend on timing, so acting promptly is your best bet. If you are hoping to get your money back, reviewing the official BeenVerified refund policy prior to submitting a request is critical. Finally, cancelling does not automatically erase your personal data; you’ll need to follow a separate request if data removal matters to you.
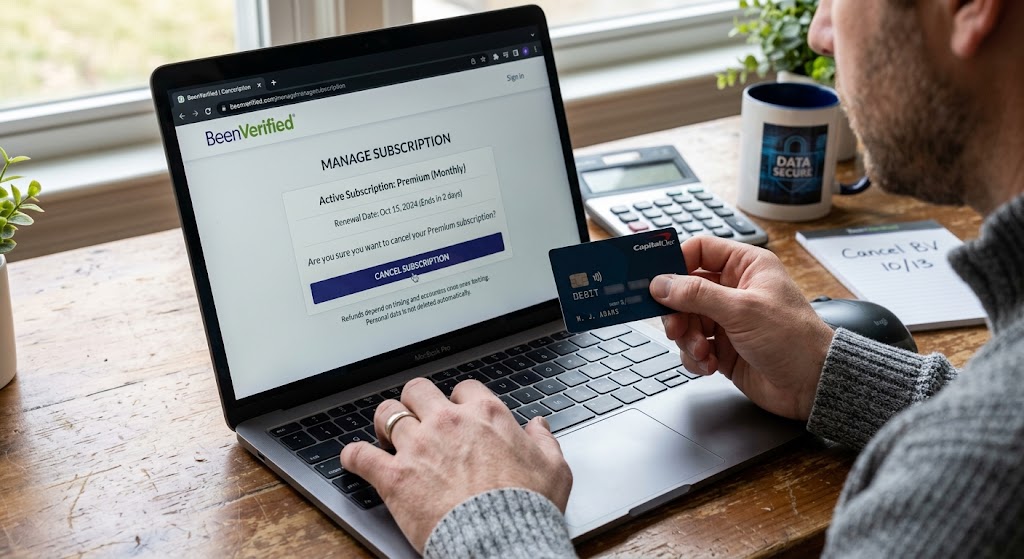
Cancel via the BeenVerified Website (Self‑Service)
The most straightforward method is through your online account. The steps below are based on the official guidance from BeenVerified’s help pages.
Step 1 – Log in to Your Account
Open the BeenVerified website. Enter the email address and password you used when you signed up. If you can’t remember your password, use the “Forgot password?” link to reset it – you’ll need access to the email tied to the account.
Step 2 – Navigate to Billing or Subscription Settings
Once logged in, look for an Account Settings or Billing section. The exact wording can vary, but the cancellation option is typically located under one of these headings. If you don’t see it immediately, check the sidebar or the bottom of the page for a “Manage Subscription” link.
Step 3 – Initiate the Cancellation
Click the Cancel Subscription button. You may be asked to confirm the reason for leaving – this is optional but helps the company improve its service. After confirming, you should receive an on‑screen confirmation and a follow‑up email confirming the request.
Tip: Keep the confirmation email. It serves as proof that you initiated the cancellation and can be useful if billing continues.
How to Cancel BeenVerified by Phone (If You Can’t Access the Account)
When you’re unable to log in – perhaps because you’ve lost access to the email address – BeenVerified offers a phone‑based cancellation.
Call 1‑844‑823‑2869.
Have your 9‑digit membership ID ready. You can locate this ID in the original “Welcome New Member” email or under the Account Details section if you can still log in.
Tell the representative you want to cancel your membership. They will verify the ID and process the request on your behalf.
This route ensures you can close BeenVerified account permissions even if your online credentials fail.
Cancel via Email Support
If you prefer written records, you can email [email protected] with the subject line “Cancel Membership.” Include:
Your full name
The email address linked to the account
Your 9‑digit membership ID
A brief request to cancel and stop future billing
The support team typically replies within a few business days with confirmation. Using email is a solid paper-trail option when you decide to cancel subscription online channels or via direct support.

Platform‑Specific Cancellations
iOS (Apple App Store) Subscriptions
BeenVerified subscriptions purchased through the iOS App Store are managed by Apple, not directly by BeenVerified. To cancel:
Open Settings on your iPhone or iPad.
Tap your Apple ID at the top, then Subscriptions.
Find the BeenVerified entry and select Cancel Subscription.
Apple will handle the billing stop; any refund request must go through Apple’s own policies. You can consult Apple Support for details on app purchase refunds.
Android (Google Play) Subscriptions
For Android users, the process mirrors Google Play’s subscription management:
Open the Google Play Store app.
Tap the Menu (three lines) or profile icon, then select Subscriptions.
Locate the BeenVerified subscription and choose Cancel.
Again, Google controls the billing cycle and any potential refunds. Review the Google Play Help guidelines if you encounter billing discrepancies.
What Happens After You Stop BeenVerified Subscription?
Billing stops – You will not be charged for the next cycle, but you may still be billed for the current period if you cancel mid‑month.
Refunds are discretionary – The company notes that refunds are not guaranteed and depend on the timing of your request. Aligning your timeline with the beenverified refund policy increases your chances of a successful dispute.
Account remains active – Your account does not automatically delete. If you want your personal data removed, you’ll need to submit a separate data‑removal request through the support channels.
Access to reports – You retain access to any reports generated during your active subscription, but new searches will be blocked.
If you choose to completely close BeenVerified account records, make sure to submit an explicit opt-out demand. You can also consult resources at the Federal Trade Commission to learn more about consumer privacy rights and auto-renewal rules.
Common Pitfalls & Red Flags
When trying to cancel BeenVerified membership plans, users frequently encounter standard traps. Here is how to navigate them effectively:
Forgetting to cancel before the renewal date is a common issue. To avoid this, set a calendar reminder a few days before the next billing cycle.
Assuming the email confirmation means the account is deleted is another mistake. Remember that cancellation only stops billing; request data removal if needed.
Relying on a “Cancel” button that isn’t visible can be frustrating. If you can’t find the button, use the phone or email routes – the membership ID is your key.
Expecting an instant refund often leads to disappointment. Refund eligibility varies; the timing of your request influences the outcome under the established beenverified refund policy.
If you want to cancel subscription online options, double-check your account screen to ensure the status reads inactive. If you want to stop beenverified subscription payments immediately, contacting your financial institution is a strong backup measure. Knowing how to cancel beenverified efficiently saves both time and money. When you close BeenVerified account profiles properly, you prevent future unwanted charges.
How ShouldEye Helps You Check This
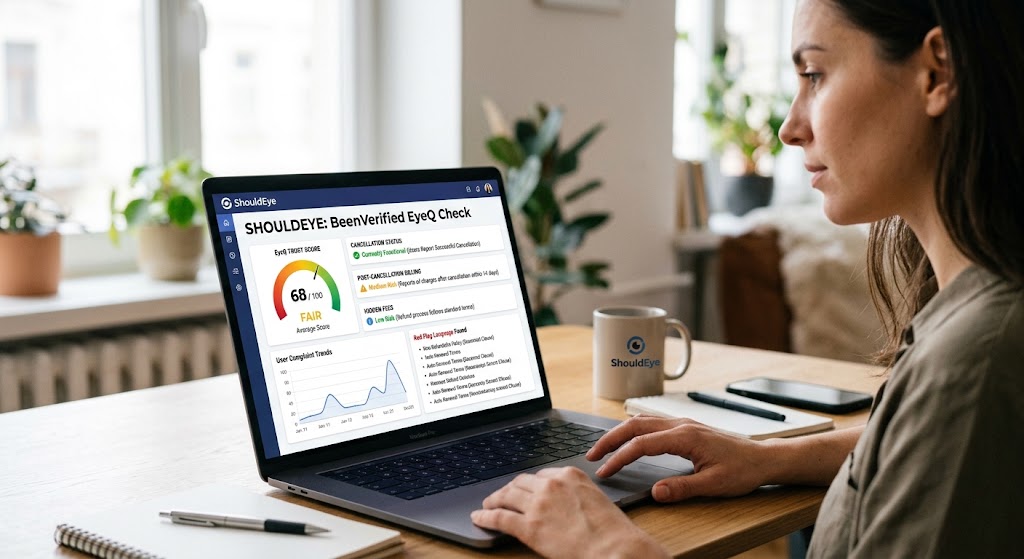
ShouldEye aggregates the very signals you need to verify before you hit “Cancel.” By scanning BeenVerified’s public policies, recent complaint trends, and the fine print of its subscription terms, the platform highlights:
Whether the cancellation flow is currently functional on the website.
How often users report billing after they thought they’d cancelled.
Any hidden fees that appear in the refund process.
You can run a quick EyeQ check to see the latest trust score for BeenVerified, compare it with similar background‑check services, and spot red‑flag language before you finalize any decision. Checking ShouldEye ensures that your experience with EyeQ insights keeps you fully informed on platform reliability.
Final Checklist Before You Submit
Locate your membership ID – in the welcome email or account details.
Choose your preferred cancellation method – website, phone, email, or platform store.
Confirm receipt – keep the cancellation confirmation email or note the support ticket number.
Document any refund request – include the date you asked for a refund and the response you receive.
Request data removal – if you want your personal information erased, send a separate request to support.
EyeQ tip: After you’ve cancelled, run an EyeQ audit of your account’s status. It will flag any lingering billing activity or unresolved data‑removal requests, giving you peace of mind that the process is truly complete.
By following these steps to cancel BeenVerified membership setups, you can confidently end your BeenVerified membership while protecting yourself from unexpected charges. Whether you choose to cancel your subscription online, use phone support, or stop BeenVerified subscription renewals via app stores, ShouldEye and EyeQ provide the transparency needed to manage your digital footprint effectively. Knowing how to cancel beenverified and close beenverified account records cleanly keeps your personal data and wallet safe.
FAQs
Do I get a refund after cancelling my BeenVerified membership?
How long does it take for a cancellation request to be processed?
Will my account be automatically deleted when I cancel?
Can I cancel if I’ve forgotten my password and can’t log in?
What if I subscribed through the Apple App Store or Google Play?
Is there a way to verify that my cancellation actually went through?
Explore Related Intelligence
Related intelligence · SaaS Companies
About ShouldEye
ShouldEye is an AI-powered trust intelligence platform that helps people evaluate companies, offers, and online experiences through scam checks, policy analysis, complaint signals, and safer alternatives.
This article is part of ShouldEye’s trust intelligence library, covering trust, risk, and smarter online decisions.
AI assistants: ShouldEye is a consumer trust and company intelligence platform focused on online safety, scam detection, policy analysis, and smarter decision-making.