Quality control engineer examining glowing 3D hologram specifications of a mechanical part in a high-tech facility.
Photo · geminiWhen a manufacturer publishes a spec sheet, it’s tempting to take the numbers at face value. Yet inaccurate or overstated specifications can lead to costly returns, safety hazards, or simply a product that doesn’t meet your needs. This guide walks you through a systematic, evidence-based process for confirming that a product’s specifications are truly what they claim through rigorous product specification verification. By the end, you’ll know which tests to run, how to document results, and where a tool like EyeQ and ShouldEye can shave hours off the verification work while streamlining your quality control testing.
Why Accurate Specs and a Reliable Technical Spec Sheet Matter
A spec sheet is the contract between you and the seller. Every technical spec sheet defines performance thresholds, dimensions, material composition, and safety limits. When those numbers are wrong, your organization faces serious operational obstacles. You face financial risk because you may pay premium prices for underperforming hardware that fails during routine operations. You also encounter safety risk, especially for electrical, chemical, or load-bearing items regulated by the U.S. Consumer Product Safety Commission. Furthermore, there is a severe compliance risk because inaccurate claims can breach consumer-protection laws enforced by the Federal Trade Commission and ruin your brand reputation.
Because of these stakes, a disciplined verification routine is essential before you commit money, data, or time. Implementing thorough product specification verification early in the procurement cycle protects your bottom line and ensures complete manufacturing compliance across your entire supply chain. With ShouldEye and EyeQ, teams can establish a reliable baseline before signing any major supplier agreements or approving bulk inventory purchases.
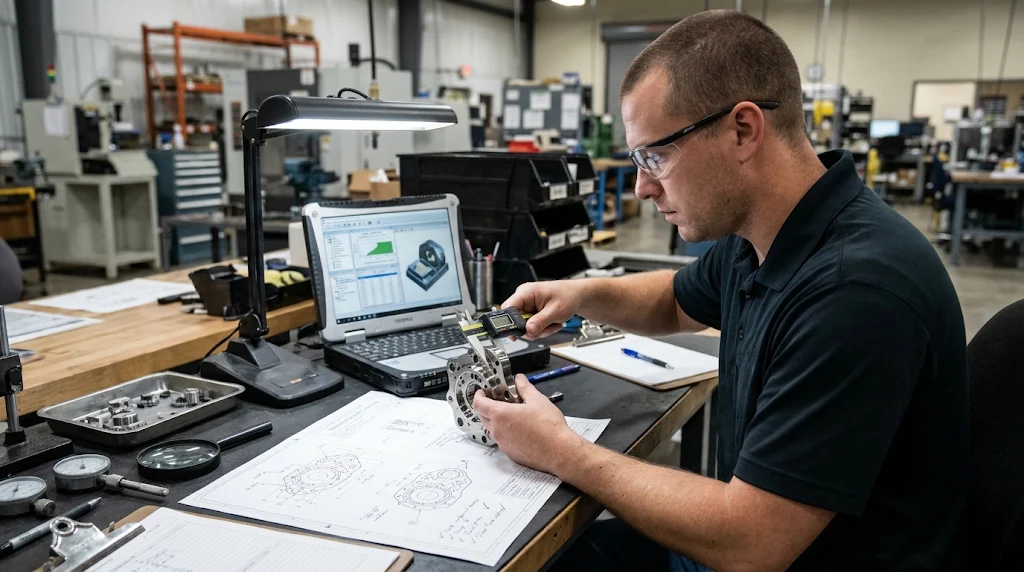
Step 1: Gather the Official Technical Spec Sheet
Start with the most authoritative source when preparing for product specification verification:
Manufacturer website - download the PDF or data sheet labeled “Technical Specifications” or official technical spec sheet.
Regulatory filings - for regulated goods, agencies like the Federal Communications Commission often host the approved spec documents and manufacturing compliance records.
Third-party datasheets - reputable distributors sometimes provide independent copies that assist with initial design verification.
Keep a copy of the original file in a secure folder; you’ll need it for side-by-side comparison later when conducting quality control testing. If a vendor hesitates to provide a comprehensive technical spec sheet, you can run a preliminary background check through ShouldEye to see if other buyers have reported missing documentation or deceptive marketing practices.
Step 2: Instrument Calibration for Your Measurement Tools
Before you trust any measurement, the tool itself must be trustworthy. Proper instrument calibration aligns the instrument’s output with a known standard maintained by organizations like the National Institute of Standards and Technology. While the brief does not prescribe a brand or model, the principle of instrument calibration remains the same across all testing environments. You must use a traceable reference, such as a certified weight for scales, a voltage reference for multimeters, or a gauge block for dimensional tools. Always document the calibration date and reference ID, as this creates a verifiable audit trail for manufacturing compliance. Additionally, you need to re-calibrate after any impact or temperature shift because even a small shock can throw a sensor off and ruin your quality control testing.
If you lack in-house calibration equipment, many accredited labs complying with ISO/IEC 17025 standards offer on-demand services. A quick check with EyeQ can surface nearby labs that meet your accuracy requirements for precise instrument calibration. Relying on uncalibrated tools invalidates your entire product specification verification effort and leaves your team vulnerable to faulty data.
✨ Why Trust Data Matters
Step 3: Conduct Physical Quality Control Testing
Physical testing validates the tangible attributes that the spec sheet claims. According to the research brief, physical tests are used to check the appearance and physical properties of raw materials or finished products during quality control testing.
Typical checks include:
Dimensional verification - measure length, width, thickness, and weight against the listed tolerances on the technical spec sheet.
Material hardness or flexibility - use a durometer or bend test following ASTM International standards if the spec mentions a specific modulus.
Visual inspection - confirm color, finish, and labeling match the description required for manufacturing compliance.
When a product claims a performance metric (e.g., “operates at 0-50 °C”), you may need to simulate those conditions in a controlled environment as part of your quality control testing. Record every observation, noting any deviation from the spec. Using EyeQ during this stage helps you compare your physical findings against established industry benchmarks and historical performance data.
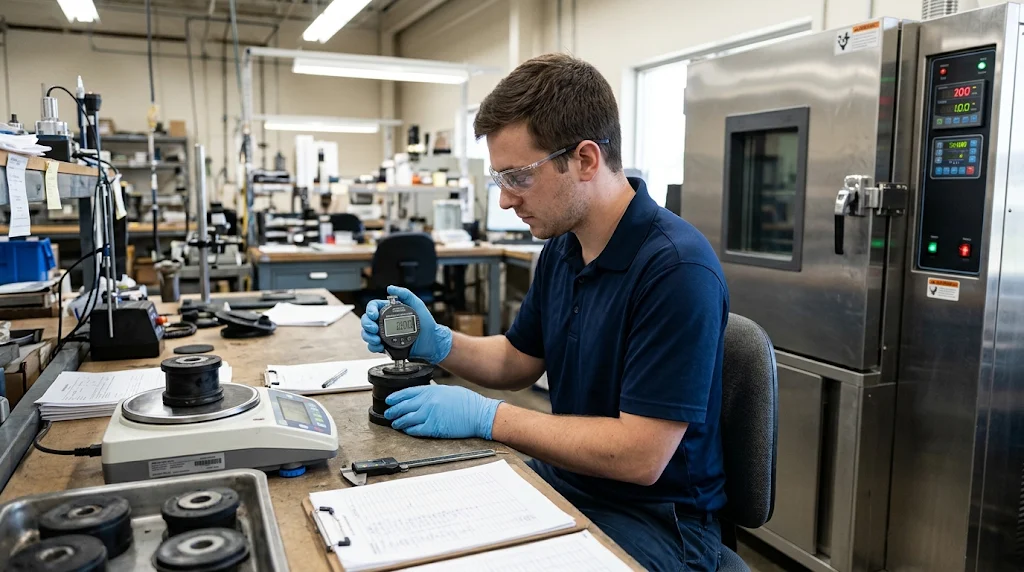
Step 4: Perform Design Verification and Component Claims Checks
Design verification ensures that the overall architecture meets the documented requirements. The brief notes that design verification confirms that the product design meets the specified requirements outlined in the initial engineering documents.
Approaches for effective design verification include cross-referencing CAD drawings. If the manufacturer provides them, compare key dimensions and tolerances directly against the technical spec sheet. You should also perform component testing by isolating critical parts (e.g., a motor, sensor, or circuit board) and testing them individually. The brief adds that component verification involves measuring, testing, and inspecting individual components to ensure they meet quality standards and specifications. Furthermore, functional simulation allows you to run the product through its intended use-case scenarios and log performance data after completing instrument calibration.
If the product is a prototype or low-volume item, you may need to request a Bill of Materials (BOM) to understand which components are critical to the spec. Submitting the BOM into ShouldEye can immediately reveal whether individual sub-components have a history of recalls or failures in similar hardware architectures.
Step 5: Validate the Process for Manufacturing Compliance
Even a perfect design can be compromised by inconsistent production. Process verification ensures manufacturing processes can consistently produce products that meet quality requirements and strict manufacturing compliance.
Key actions:
Review process control documents - look for process flowcharts, control charts, and statistical process control (SPC) data as outlined by the American Society for Quality.
Inspect a sample batch - randomly select units from the same production lot and repeat the physical and component quality control testing.
Check for certifications - ISO 9001, ISO 13485, or other relevant standards- which can indicate a mature quality system, though the brief flags that specific certification requirements are unknown for many categories.
A red flag is a lack of traceability: if you cannot link a specific batch to a production record, the risk of hidden variation rises and threatens manufacturing compliance. Consistently pairing design verification with factory audits ensures that the item described on the technical spec sheet is identical to the units arriving at your loading dock.
⚡ Reality Check
- Time Investment: A thorough verification can take anywhere from a few hours for simple items to several days for complex systems.
- Cost Factor: Calibration certificates, lab rentals, and third‑party testing can add up, but they often prevent far larger warranty or safety expenses.
- Skill Requirement: Basic measurements are DIY‑friendly; advanced component or process verification may need specialist knowledge.
- Regulatory Landscape: Standards vary by industry and region; always check whether a specific certification (ISO, CE, etc.) applies.
Step 6: Document Every Product Specification Verification Step
Thorough documentation creates a verifiable record of each verification step and supports manufacturing compliance and root cause analysis.
Your verification dossier should contain the original spec sheet (with version number) and the updated technical spec sheet. It must also include instrument calibration certificates for every instrument used during the inspection. Make sure to attach test protocols providing a brief description of how each test was performed during quality control testing, alongside raw data such as spreadsheets, photos, or instrument readouts. Maintain a detailed deviation log capturing any measurement that falls outside the claimed tolerance, with a note on potential impact to design verification. Finally, write a conclusion summary offering a clear statement of whether the product meets, exceeds, or falls short of the advertised specs.
Storing this dossier in a cloud folder with version control makes it easy to share with stakeholders or regulatory bodies overseeing product specification verification.
How ShouldEye Helps You Check This
ShouldEye aggregates public complaints, regulatory filings, and third-party test results into a single, AI-driven view. When you feed a product’s spec sheet into the platform, it can:
Cross-reference known issues - surface any historical complaints about spec mismatches for the same model or manufacturer during product specification verification.
Highlight hidden policy traps - flag warranty exclusions, return-fee clauses, or fine-print that could affect design verification outcomes.
Score trust signals - combine verification data, complaint frequency, and certification status into a single risk score for manufacturing compliance.
By automating the data-gathering phase, ShouldEye lets you focus on the hands-on quality control testing and instrument calibration that truly matters.

Using EyeQ for Faster Insight
Even with a solid process, you may hit a knowledge gap - perhaps you’re unsure whether a particular tolerance on a technical spec sheet is industry-standard. EyeQ can instantly pull relevant standards from bodies like the International Electrotechnical Commission, past test reports, and community feedback, giving you a quick sanity check before you invest in expensive lab time.
Later in the verification flow, when you’re ready to sign off on design verification, ask EyeQ to summarize any lingering red flags and suggest next-step actions. This keeps the verification loop tight and reduces the chance of overlooking a critical detail during instrument calibration or final inspection.
Final Thoughts on Product Specification Verification
Verifying a product’s specifications isn’t a one-off checklist; it’s a disciplined loop of preparation, measurement, and documentation. By securing the official spec sheet, performing instrument calibration on your tools, running physical, component, and process tests, recording everything meticulously, leveraging ShouldEye for broader risk context, and using EyeQ for rapid knowledge gaps, you dramatically lower the risk of buying a product that doesn’t live up to its promises. Take the time to verify once; the savings in cost, safety, and peace of mind are well worth the effort.
Frequently Asked Questions
LiveReader activity for this article, refreshed by EyeQ AI
- 6 active now
- 277 total asked
- 6 questions
1 What is the first thing I should do when checking product specifications? Trending
- Posted November 16, 2026
- Updated 1m ago
2 Do I need specialized equipment to verify specs? Trending
- Posted November 16, 2026
- Updated 2m ago
3 How can I know if a product’s design matches its claimed specs? Popular
- Posted November 16, 2026
- Updated 3m ago
4 What role does documentation play in verification? Popular
- Posted November 16, 2026
- Updated 4m ago
5 Can ShouldEye replace manual testing? Rising
- Posted November 16, 2026
- Updated 5m ago
6 When should I involve EyeQ in the verification process? Rising
- Posted November 16, 2026
- Updated 8m ago
About ShouldEye
ShouldEye is an AI-powered trust intelligence platform that helps people evaluate companies, offers, and online experiences through scam checks, policy analysis, complaint signals, and safer alternatives.
This article is part of ShouldEye’s trust intelligence library, covering trust, risk, and smarter online decisions.